Pixel Flick Pixel Flick
  • Home
  • Portfolio
    • Studio Releases
      • The Dark Pictures Anthology
      • The Persistence PSVR
      • Battalion 1944
      • Rising Storm 2: Vietnam
    • Environments/Props
      • Asylum Manicomio Di R
      • Office Desk Phone
      • Felix Potin Shopfront
      • Stylised Witches Hat & Broomstick
      • Gothic Mausoleum
      • Industrial Generator
  • Sketchfab
  • About/Resume
  • Contact
Close
  • Home
  • Portfolio
    • Studio Releases
      • The Dark Pictures Anthology
      • The Persistence PSVR
      • Battalion 1944
      • Rising Storm 2: Vietnam
    • Environments/Props
      • Asylum Manicomio Di R
      • Office Desk Phone
      • Felix Potin Shopfront
      • Stylised Witches Hat & Broomstick
      • Gothic Mausoleum
      • Industrial Generator
  • Sketchfab
  • About/Resume
  • Contact

All Posts in “3D”

Tag

The Dark Pictures Anthology: Little Hope & House of Ashes
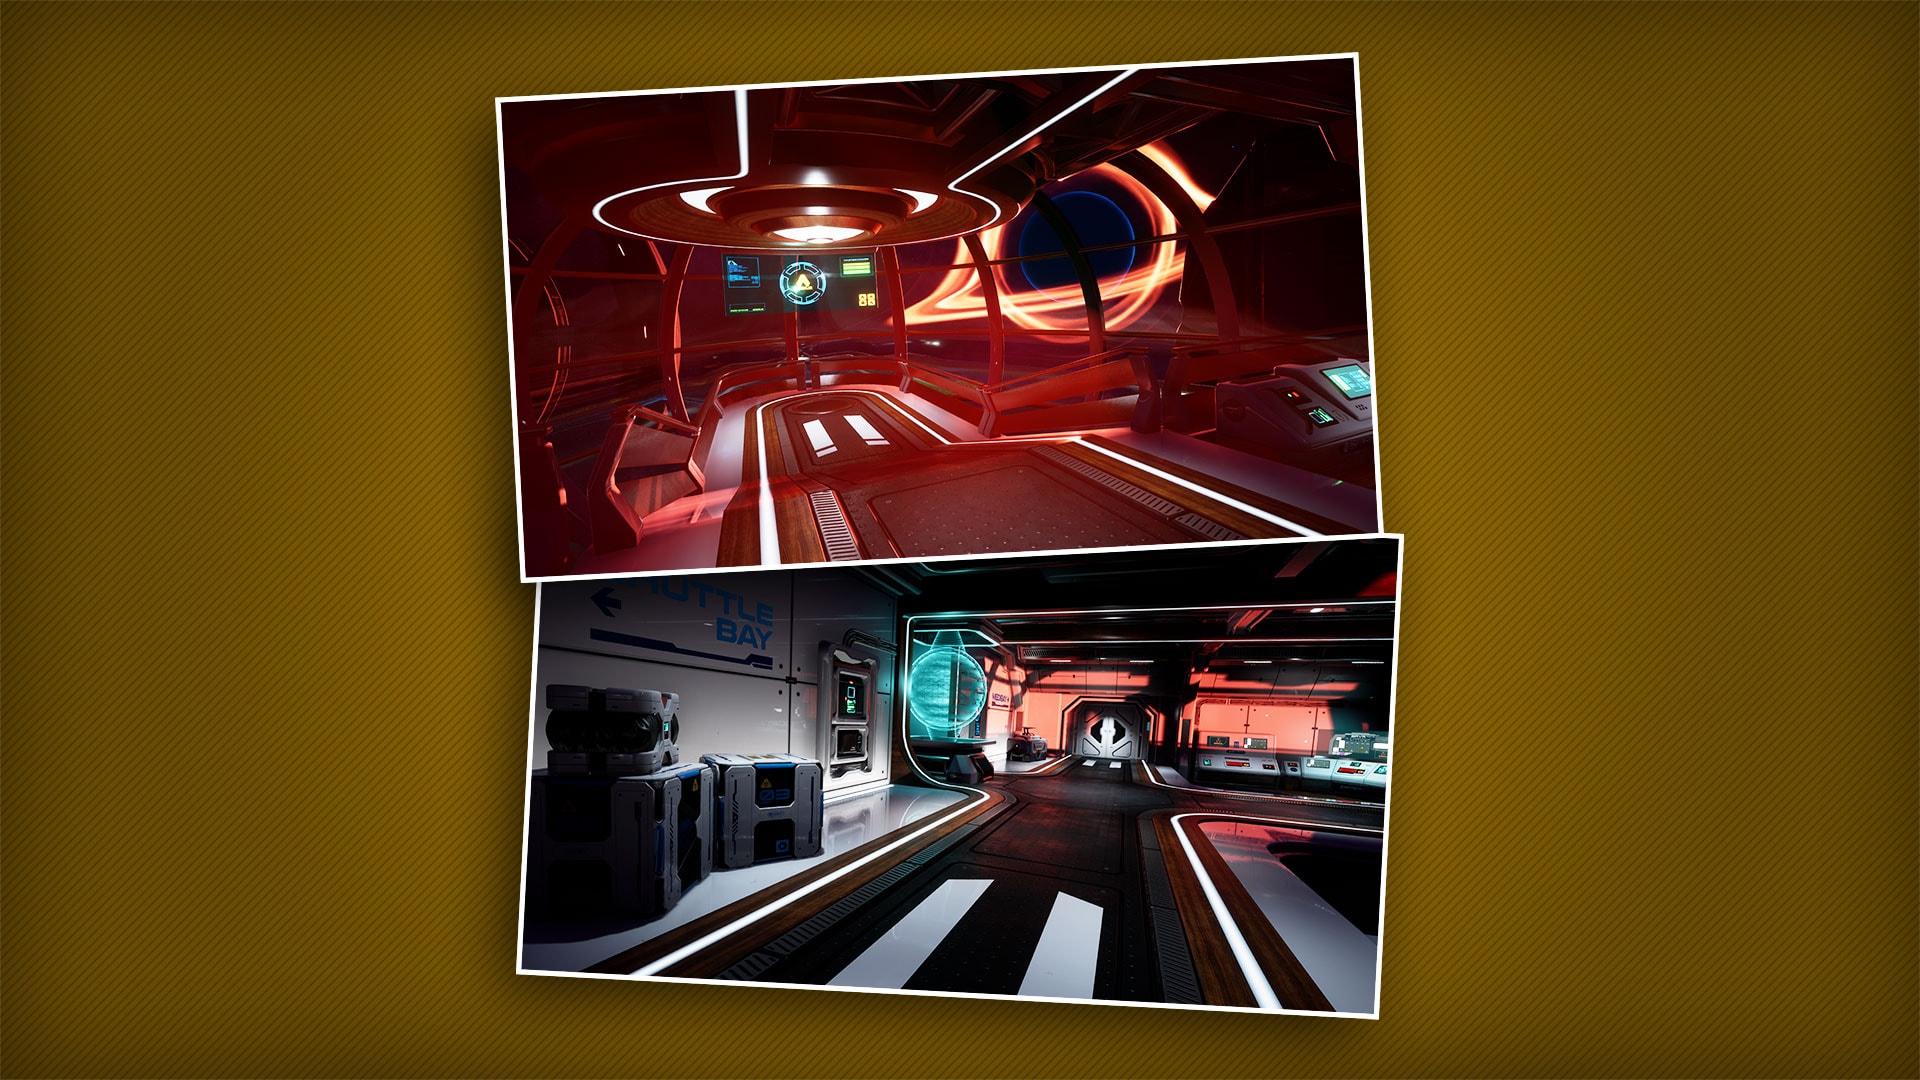
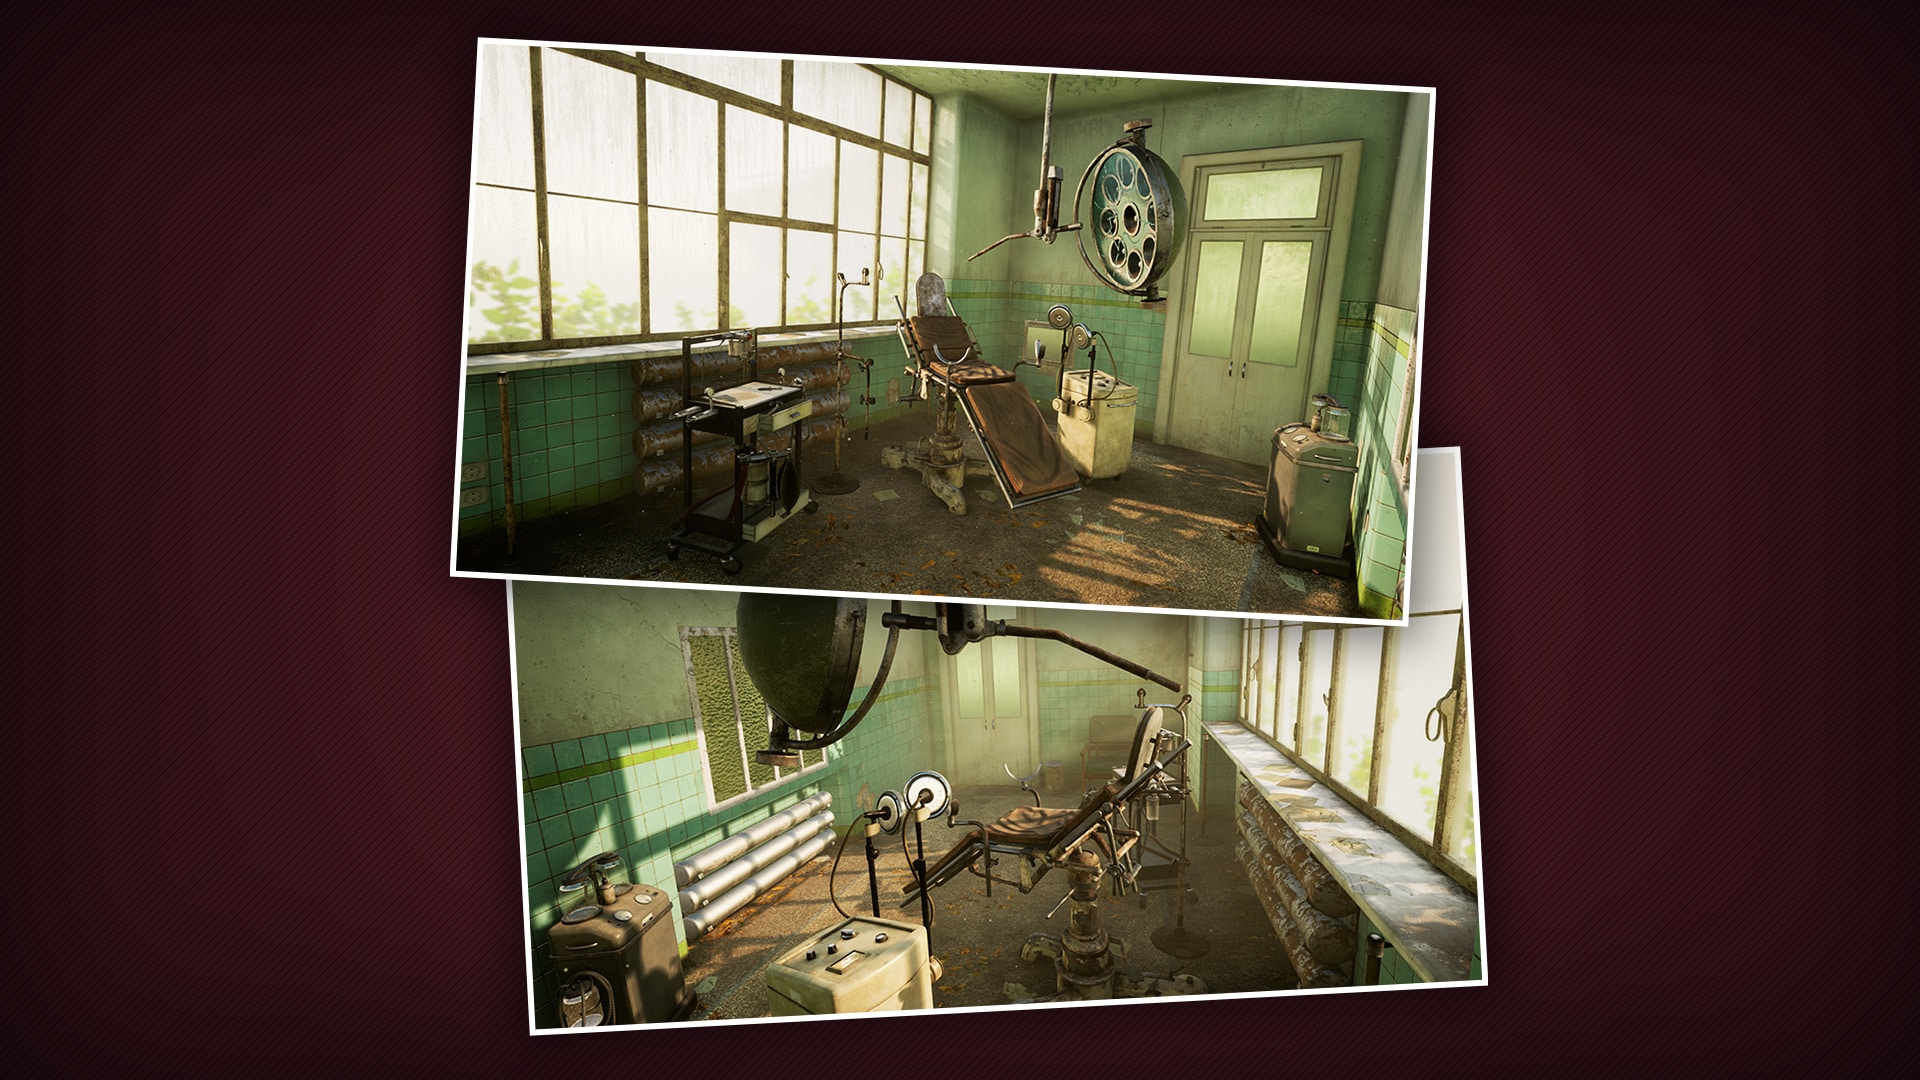
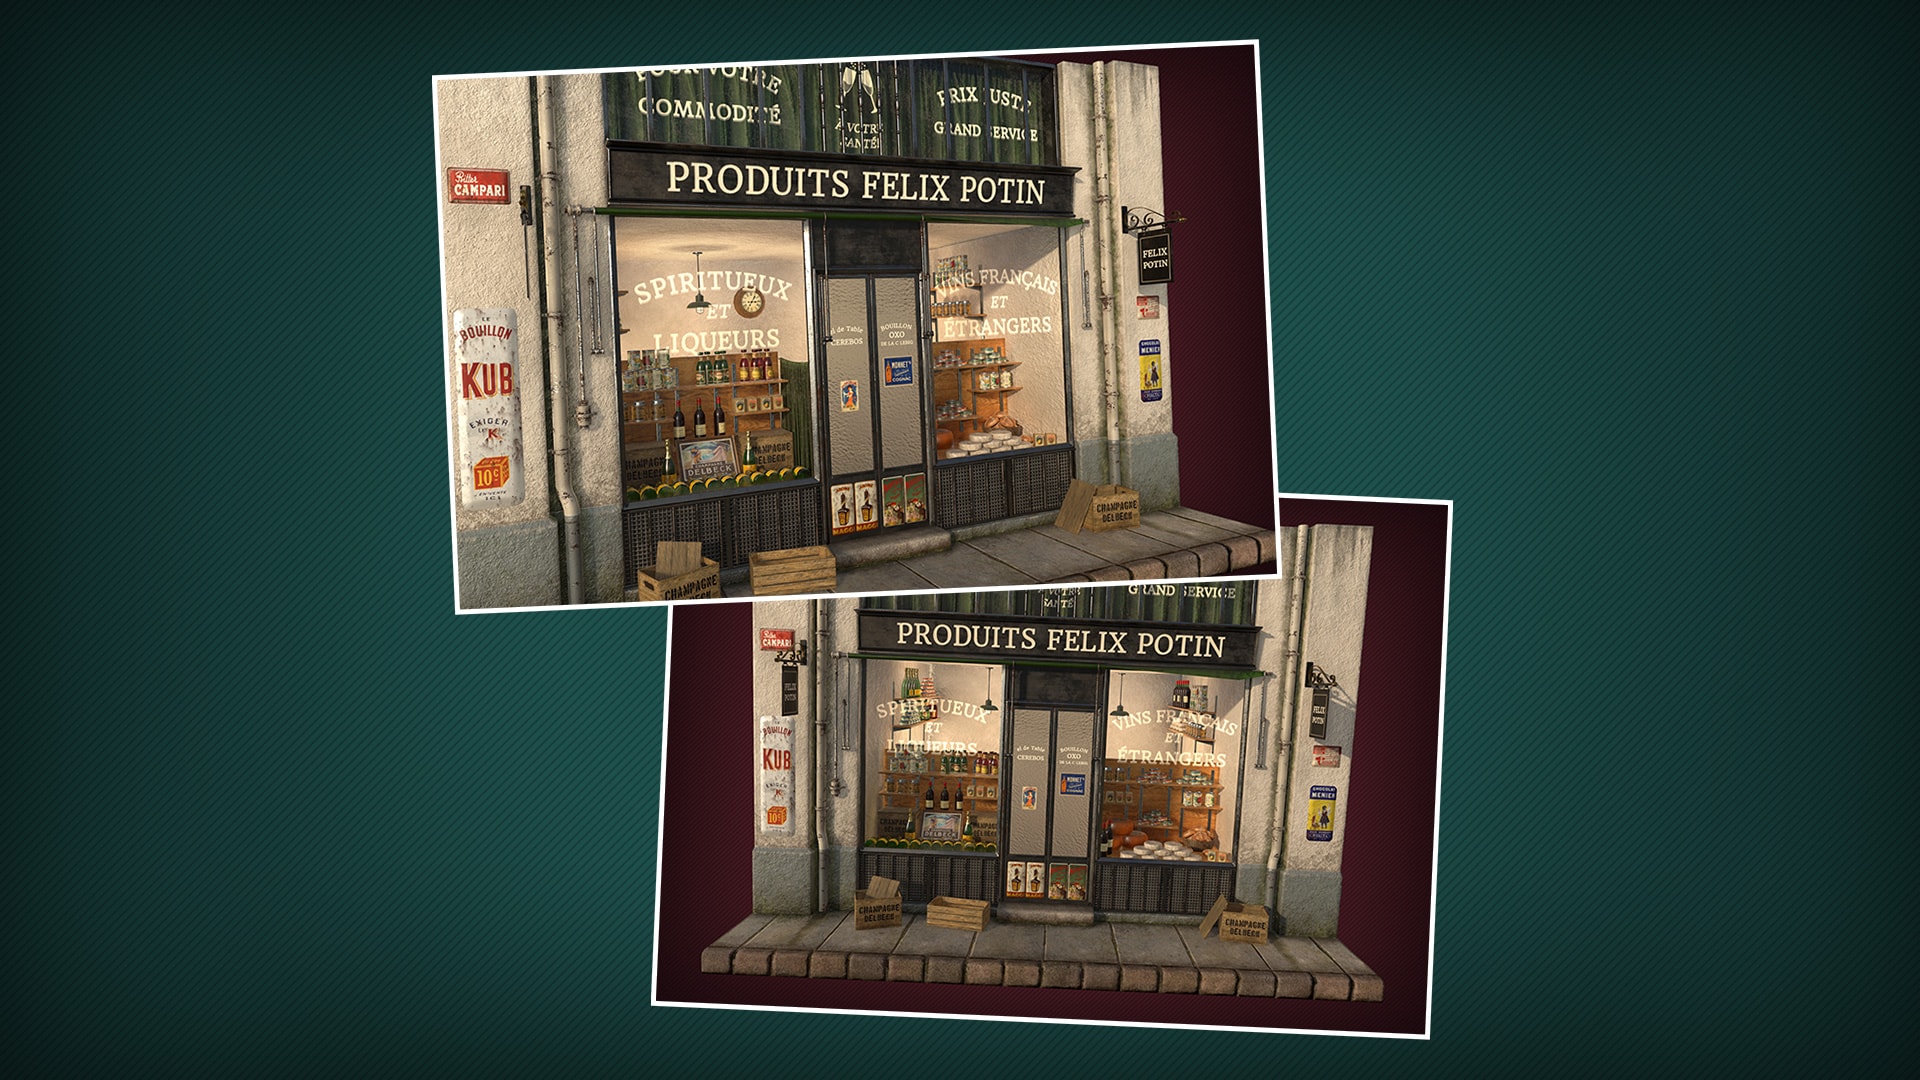
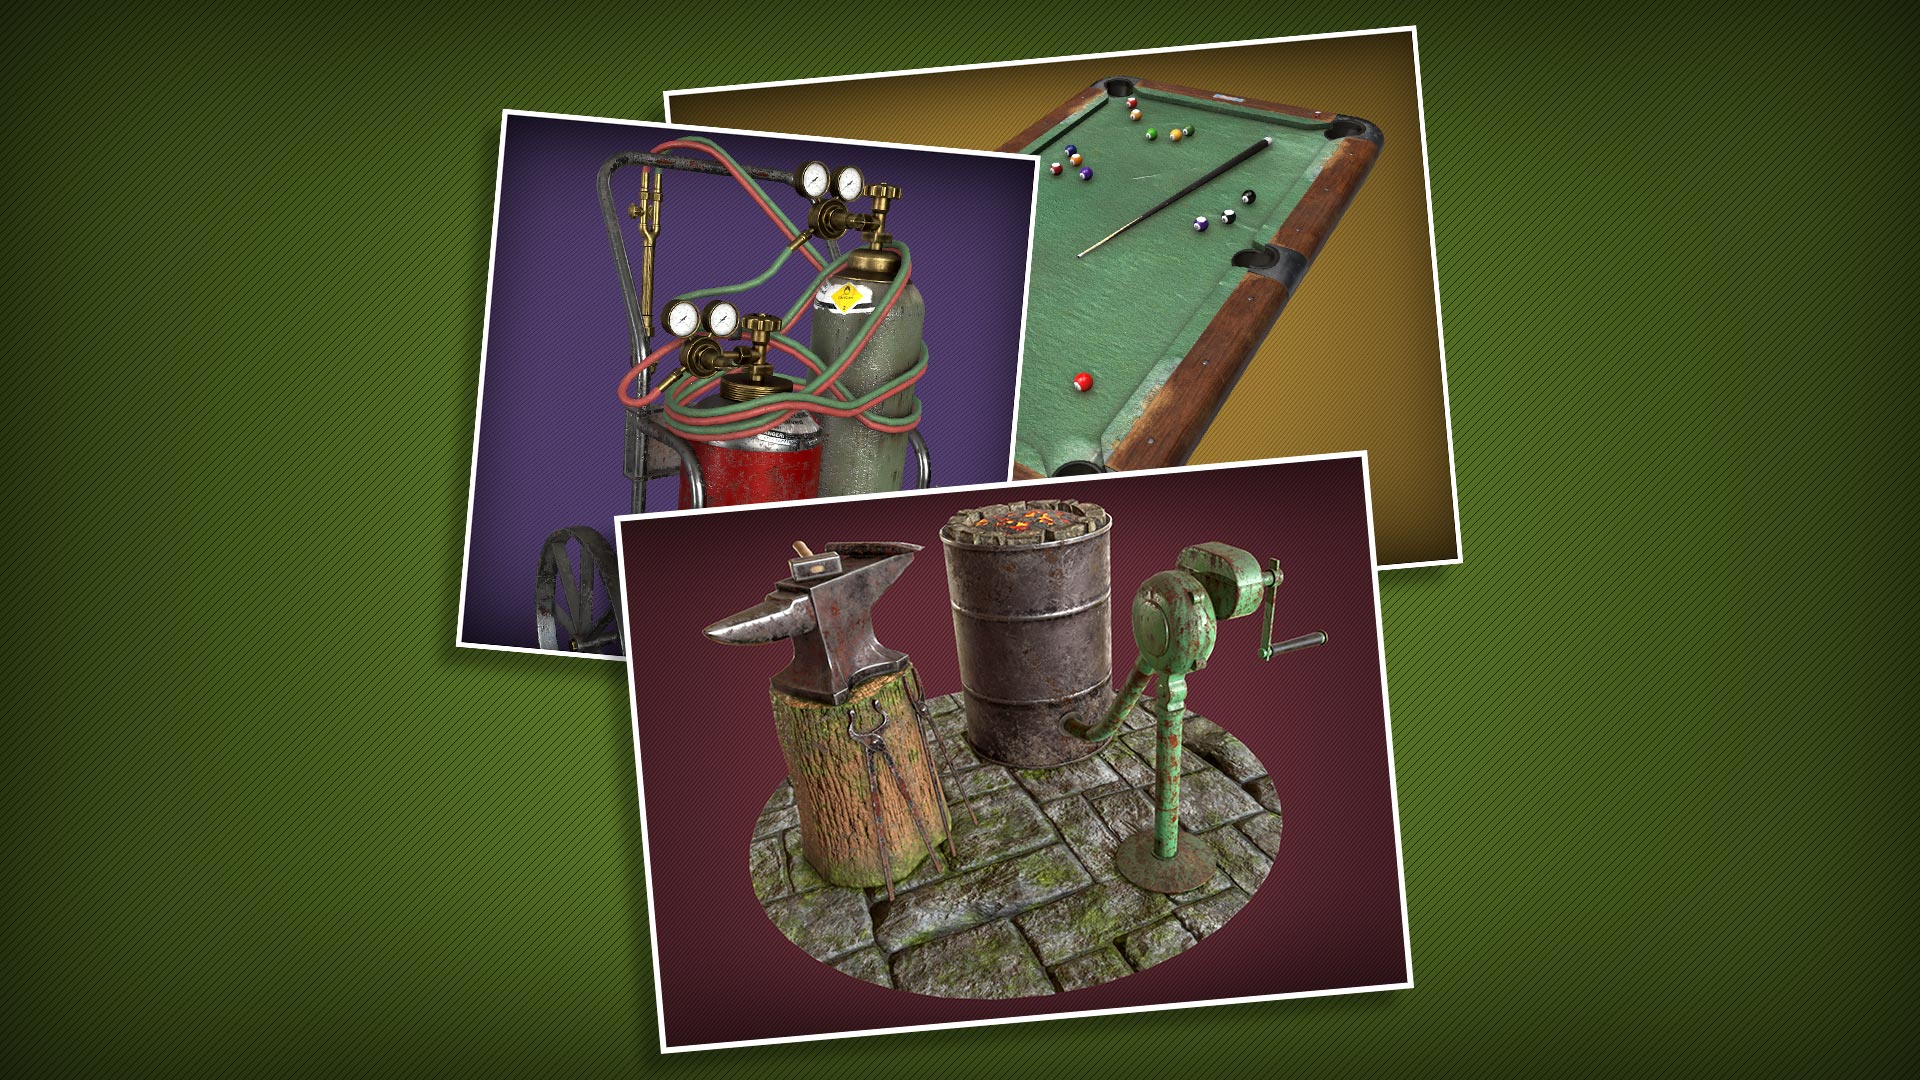
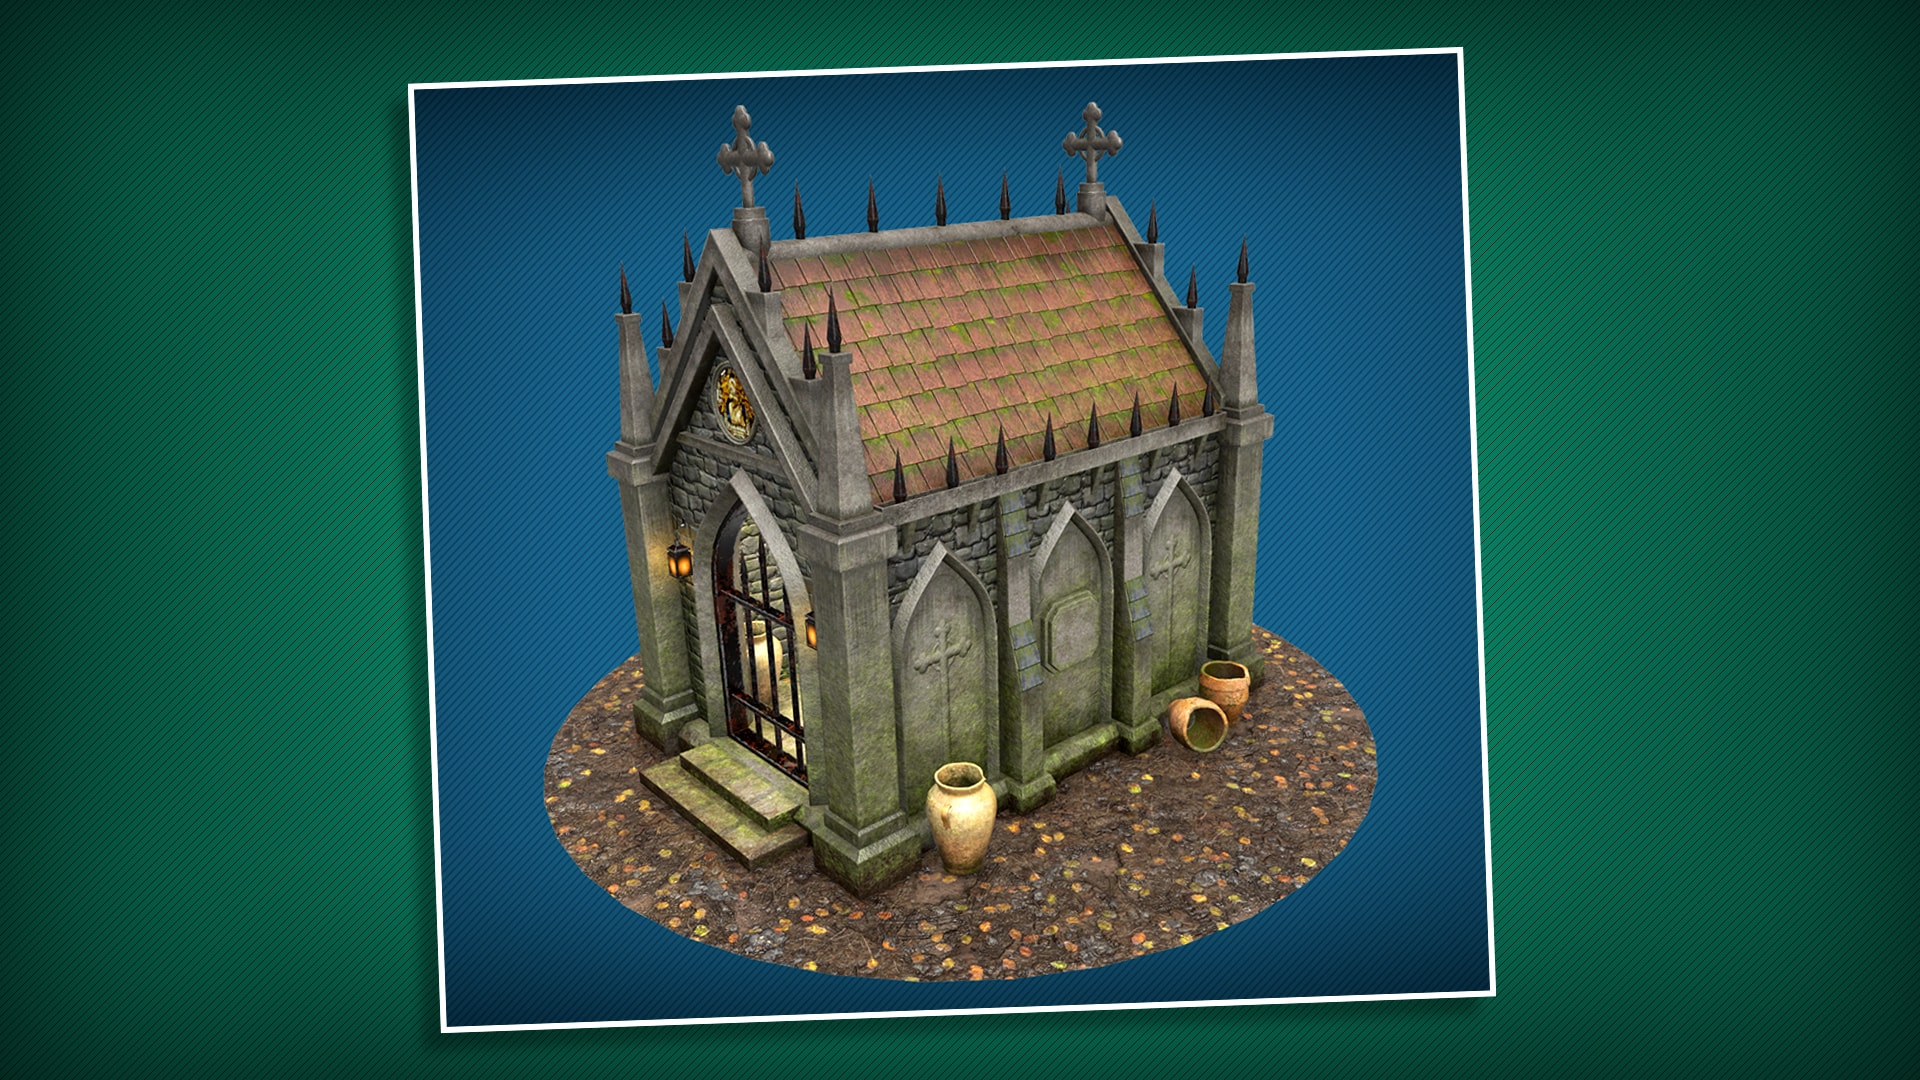
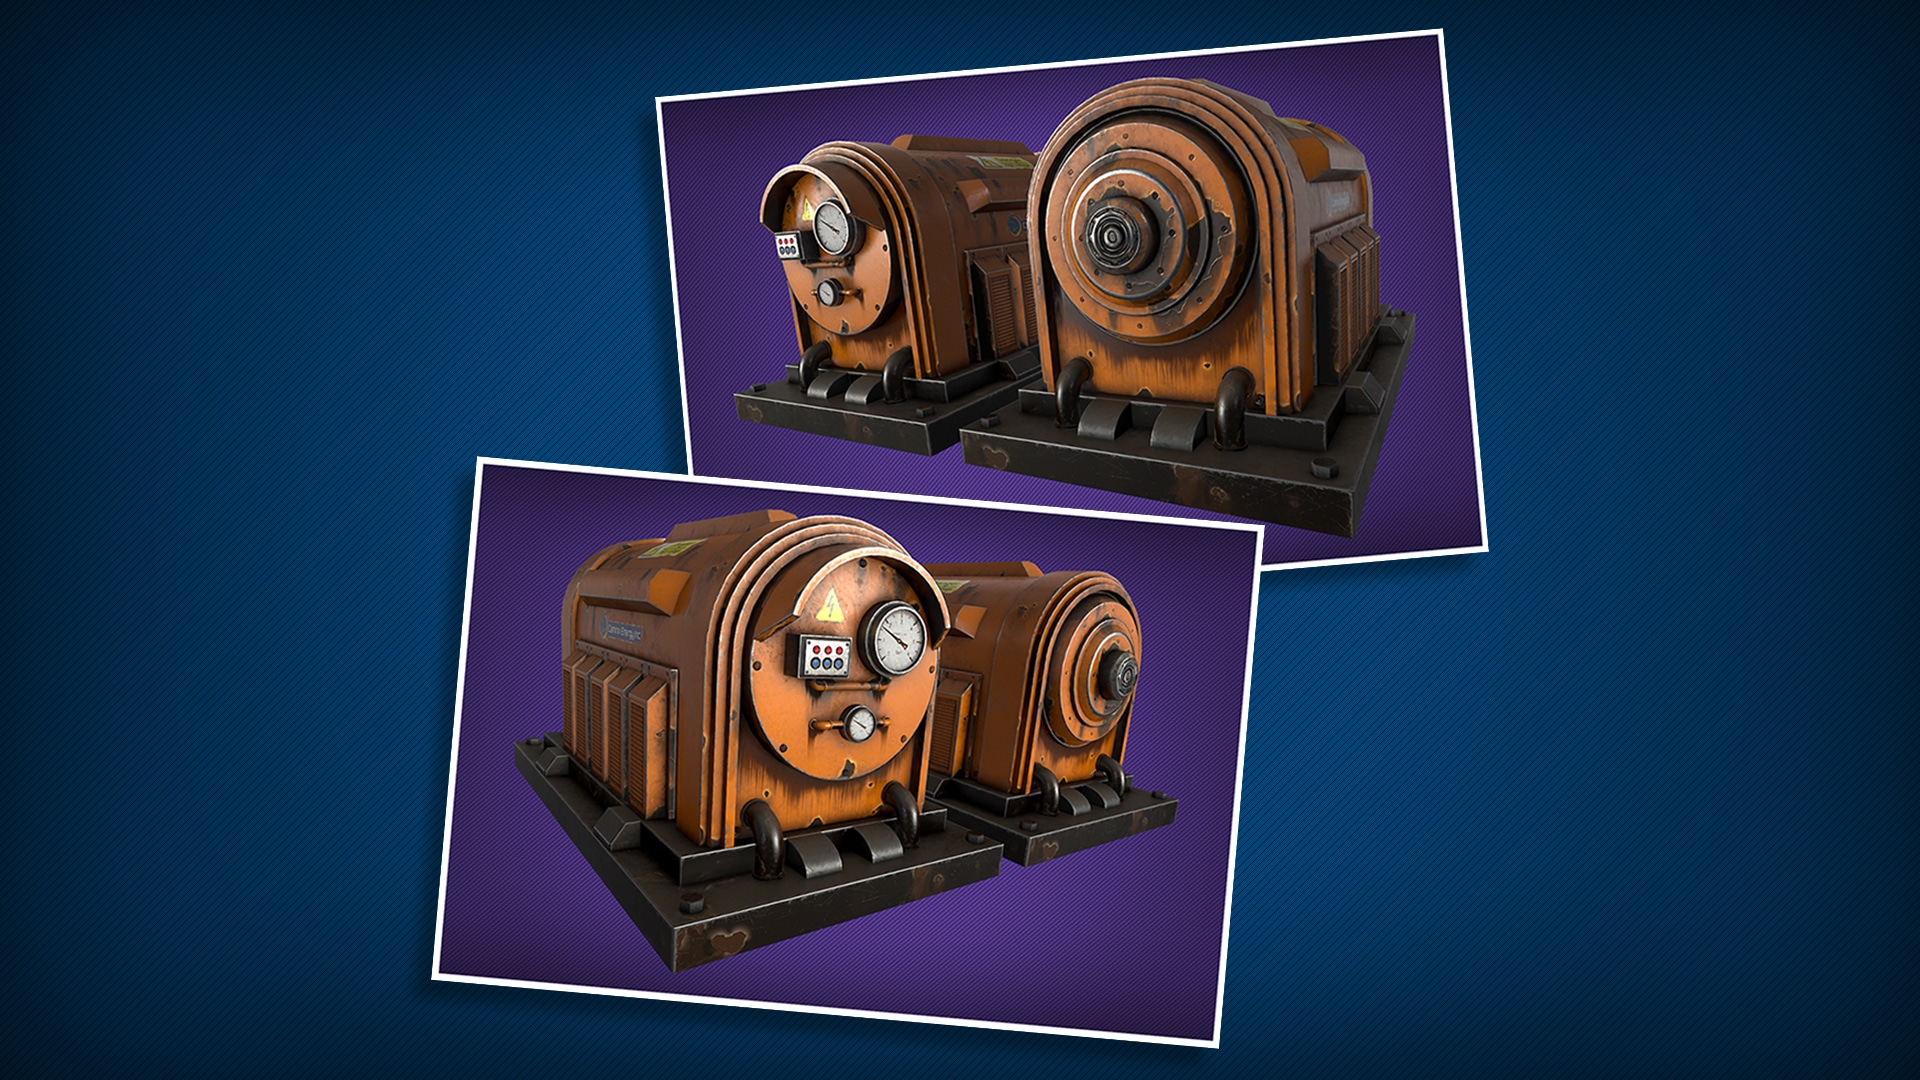
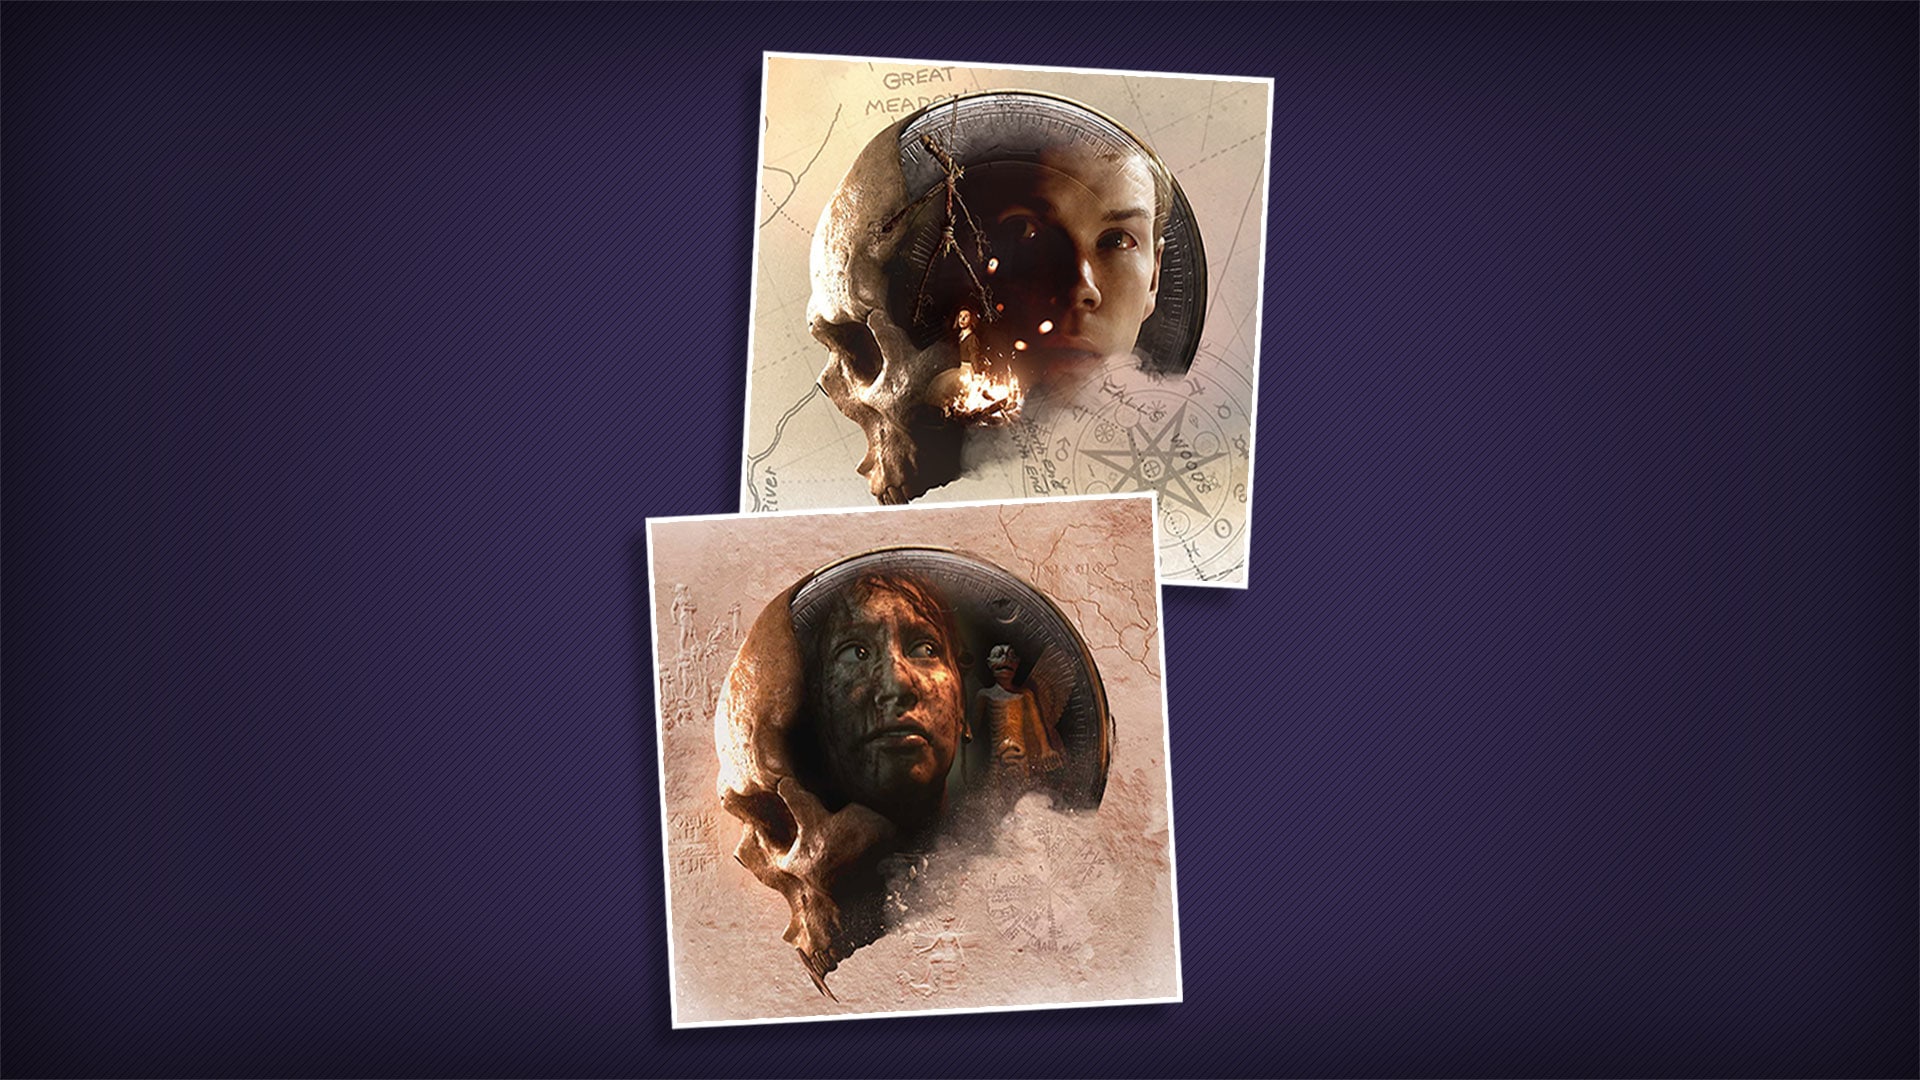
November 18, 2021 / No Comments

House of Ashes

House of Ashes is the third title in the Dark Pictures Anthology series from Supermassive Games. My main responsibility on this title was to work on the Inner temple sections explored in the early sections of the game. I had a limited amount of time working on this title as I was moved onto another internal project after a few months. I worked closely with both the design & environment team to help whitebox and plan the inner temple layout sections.
I spent some time at the beginning finding references for Persepolis ruins and statues. I then got to work creating props and substance materials to help bring the temple to life. I created numerous statues within the temple that can be seen in the screenshots below. I used ZBrush to sculpt the statues and then textured them using Substance Painter. I had a lot of fun making these statues and they look great in game. I also helped with substance designer material work for trim sections to be placed on the walls, floors, ceiling sections and pillars throughout the temple.
With the short amount of time I had on the project I believe I contributed a lot to the efforts of the team.
House of Ashes UE4 RendersHouse of Ashes UE4 RendersHouse of Ashes UE4 RendersHouse of Ashes UE4 RendersHouse of Ashes UE4 Renders
House of Ashes PropsHouse of Ashes PropsHouse of Ashes Props

Little Hope

Little Hope is the second title in Dark Pictures anthology and it was the first game I worked on in the series. I worked closely with both the environment and design teams to help build the colonial house in the prologue section of the game. I worked primarily to create props and set dress different rooms within the colonial house set in 1976.
I created the majority of the assets for both Megan’s and Tanya’s rooms. This involved set dressing and material work within UE4.
It was a huge collaborative effort and a joy to work on with the highly talented environment art team.
Little Hope UE4 RendersLittle Hope UE4 RendersLittle Hope UE4 RendersLittle Hope UE4 Renders
Little Hope PropsLittle Hope PropsLittle Hope PropsLittle Hope PropsLittle Hope PropsLittle Hope Props

The Persistence PSVR

August 31, 2018 / No Comments

The Persistence

The Persistence is a PlayStation VR survival horror game built from the ground up for PSVR. I worked as an Environment Artist on the project from the beginning of 2018 up until release. I worked closely with the artists and level designers at Firesprite Ltd based in Liverpool UK. This game has been an interesting project to work on due to the procedural nature of the levels and their design. The majority of my time I was building environment props from concepts and contributing to environments within the game. I created a lot of varied electrical props and modular level pieces. I was responsible for building the bridge of the Persistence that you can see in the screenshots below. This is one of the last areas that you visit before the end of the game and is an important environment for the narrative.

Below are a collection of screenshots taken of the bridge in the UE4 engine. The majority of the assets in the scene are textured using only trim sheets and tillable textures.

Below are renders of some of the assets I made for The Persistence. All of these props were not baked and were textured using one trim and one decal sheet, this was to save on memory.

Asylum Manicomio Di R

June 10, 2018 / No Comments

Asylum Manicomio Di R

Asylum Manicomio Di R was an Italian mental asylum abandoned in 1978. When I found a photo collection of this place online I was drawn to it, this desolate and worn environment had inspired me to recreate and portray as much of it as possible.

This was one of the many operating rooms in the asylum. Due to many variations of these rooms, gathering consistent reference images was a tricky task. The biggest challenge with building the props was to find enough angles to visualise the overall look. The chair in particular was difficult as I had to make up the back and underside as I couldn’t find enough reference. Once I had built the main props I then built the rest of the room and got to work creating the textures using Substance Painter and Designer.

Below are some screenshots of the whole scene created in UE4. The original plan was to create just a few key props in one of the medical rooms within the Asylum Manicomio Di R. It grew from there as I became more intrigued with the overall room itself. I built the rest of the room around the props and finished off the scene, overall I am happy with the result. The lighting is the most important part as it creates a calm yet eerie feeling to atmosphere. It was a challenge to get the lighting right and I feel as though I got it most of the way there.

Office Desk Phone

March 26, 2018 / No Comments

Panasonic Office Desk Phone

Recently I created an office desk phone based on an old 90’s Panasonic phone model. When I tried to find reference images online it was a little tricky due to there being so many different phone models. I tried to keep the poly count as low as possible as well as pack in as much detail into the textures as I could.

The low and high poly models didn’t take long to put together as I wanted to focus my efforts on the texturing. I wanted to give as much time as needed to the texturing process as this was the focus of this exercise. I wanted to make the dirt and grime believable and not over the top. I added details such as flakes of skin, build up between the crevices of the handset and worn buttons. This all brings it together to give the impression that this was used frequently within an office environment.

I baked and textured this within Substance Painter and rendered it in Marmoset Toolbag 3. This was a fun little exercise to focus on the smaller details. Overall I am pleased with the result. If you would like to see the results then please take a look at the screenshots and Sketchfab link below.

Battalion 1944 Props & Buildings

March 25, 2018 / No Comments

Battalion 1944

In 2017 I worked with Bulkhead Interactive on their latest game Battalion 1944. A WWII online multiplayer shooter focused on competitive play reminiscent of the old Call of Duty games.

I created environment props and buildings for the game as well as optimizing assets and materials to reach the high frame rates required for pc pvp and eSports events. I created a multitude of props as well as helping with optimizing and light mapping some of the more complicated assets. This took up the majority of my time at Bulkhead Interactive, the rest of the time I spent creating buildings as well as linking corridors to different parts of the map. The biggest building I worked on was the old cinema in the map Derailed. I was tasked to create the outside as well as the inside including props and lighting. I also worked on a Dutch house in the Liberation map. This was my first proper attempt at creating buildings and I feel as though I learnt a great deal in the process.

Below are a few of my favourite assets that I created as well as few buildings included in the game.

Felix Potin Shopfront Reims Market

April 6, 2017 / Comments Off on Felix Potin Shopfront Reims Market

Felix Potin Shopfront

This is my interpretation of the Felix Potin Shopfront in Reims market square France in 1917. I could only find a handful of small photo references online so this started out as a difficult task from the get go. I planned out as much I could and drew up diagrams to guide me along the process, then got going.

The modeling process was fairly straight forward and the only real difficulty was knowing how to lay out the inside of the shop. Once I had the models ready I then brought the scene into Substance Painter. There were three unique texture sets to work on, (walls/ pavement/inner floor) (food/bottle set) as well as (signs/pipes/curtains/extras) the rest of it was tilable textures. I worked on these three sets back and forth giving each equal amounts of time.

Once ready then I imported the meshes as well as the textures into UE4 and set up a basic scene. The first screenshots shown below were rendered in UE4 and the second set were rendered in Marmoset Toolbag 3. I have included the reference images of the shopfront, these being the best images I could find.

Overall I am happy with the result and I really enjoyed putting this together. I feel that I created a grounded and realistic interpretation of the Felix Potin Shopfront in Reims market square.

Stylised Witches Hat & Broomstick

March 28, 2017 / Comments Off on Stylised Witches Hat & Broomstick

Stylised Witches Hat & Broomstick

Here are a few low poly props of a stylised witches hat & broomstick, these were created for mobile game usage for an undersea setting. I felt like creating low poly stylised assets as something a little different to try out. I wanted to keep the hat and broom at about 1000 tris for both as well as giving each of them 512×512 textures maximum for mobile usage. I found some great drawings of these props on google images and I wanted to give it a go in Substance Painter and see what kind of result I could get. These two assets were done in under a week and were textured using Substance Painter. Overall I am happy with the result and it was a fun exercise to try out.

Below are some screenshots and a turnaround hosted on Sketchfab.

Rising Storm 2: Vietnam Props

May 30, 2016 / Comments Off on Rising Storm 2: Vietnam Props

Rising Storm 2: Vietnam

Rising Storm 2: Vietnam is a first person multiplayer shooter for the PC created in the UDK engine. I worked as an environment artist for roughly 6 months in the studio working on this as well as other projects. Afterwards I spent a further 5 months working remotely creating more content for the game before the game was complete and released. I mostly created environment assets using a mixture of the Quixel Suite and Substance Painter. I helped to place certain assets within the levels as well as help with creating some small buildings. I feel as though I learned a lot about working in studio as well as remotely and the challenges that come along with it. All these assets where originally textured using specular and not the PBR workflow that’s used today. This was a little tricky for me to get the right look and feel as some of it was guess work. What I did was texture using PBR and then flip my work over to spec/gloss and compare the look and feel to what was correct.

Below you can see some screenshots of my work I did for Antimatter games as well as some interactive turntables of the assets.

Gothic Mausoleum

May 29, 2016 / Comments Off on Gothic Mausoleum

Gothic Mausoleum

I started a job at Antimatter Games in Falmouth as a 3D Environment Artist and this was my attempt at the art test they sent me. The brief was to create a Mausoleum, they left it to me to come up with ideas and designs. I felt that Gothic architecture was the ideal foundation for the mausoleum, I did a lot of research into what style traits Gothic buildings had. I looked mostly at mausoleums in London, there were a group in particular called the Magnificent Seven. These were seven large Victorian-era cemeteries with a lot of heritage as well as Gothic architecture. I did a lot of mood boards and picked out parts that I wanted to infuse into the final design. The design I settled on was a mixture of different parts that I liked from different mausoleums, I decided to keep it small to keep it manageable in the time I had. I spent roughly two weeks putting it together and importing it into UE4, I then packaged it up and sent it Antimatter Games and they were impressed with the result. It was an enjoyable experience and I learnt a lot whilst putting this together.

Below you can see some screenshots of the final result as well as an interactive turntable hosted on Sketchfab.

Industrial Generator

November 3, 2015 / Comments Off on Industrial Generator

Industrial Generator

Here is an industrial electrical generator asset that I modeled and textured using Substance Painter. This was a great exercise to understand painter better as before this I was primarily using the Quixel Suite for texturing. When I used Substance Painter I found it to be intuitive and manageable and this helped me understand the pipeline and enjoy the process. I found quite a few reference images for generators, I chose the ideas that I liked best and mixed them up. I wanted to add wear and tear to the industrial generator to give it some depth, most of the references I had didn’t have any. I spent roughly 1 week making this asset and also getting to grips with Substance Painter and understanding it better. Overall I am happy with the result, the main change I would make would be the edge wear. I feel that the wear is too heavy and consistent. I was happy with the rust marks as well as the grunge around the dials and grills. It was a nice asset to work on and I enjoyed working on it.

Below are some screenshots showing the Industrial generator as well as an interactive turntable.

© Copyright 2016-2021, Pixel Flick Ltd. All rights reserved.